Loading article...
Article content
The best way to start Mortal Shell II is to choose one Shell and weapon, learn Vatra's Harden defense before chasing perfect parries, cleanse nearby Beacons, and spend early upgrade resources on a focused build. Tiel is the strongest general early recommendation, while Proxima is a safer alternative for players who prefer ranged control and damage mitigation.
Mortal Shell 2 removes stamina costs, but that does not make its combat careless. Resolve, weapon recovery, enemy Break bars, Shell abilities, Tarstones, sidearms, healing charges, and Beacons all compete for your attention. This spoiler-light beginner's guide explains those systems without revealing late-game bosses or story turns.
Version: This guide covers Mortal Shell II version 1.0 and was last reviewed on August 18, 2026 during Advanced Access. Mechanics and recommendations should be rechecked after launch patches.
Spoiler policy: The guide names the first hub, early Shells, basic systems, and the tutorial boss. It does not reveal late-game regions, major story events, or ending requirements.
Mortal Shell 2 quick-start checklist
If you only want the essential Mortal Shell 2 tips, follow this order:
- Change the camera preset from Cinematic to Action if the close view limits your awareness.
- Finish the prologue and reach Marrow Keep, the main early hub.
- Test both Tiel and Proxima before investing heavily in either Shell.
Best first-hour route in Mortal Shell 2
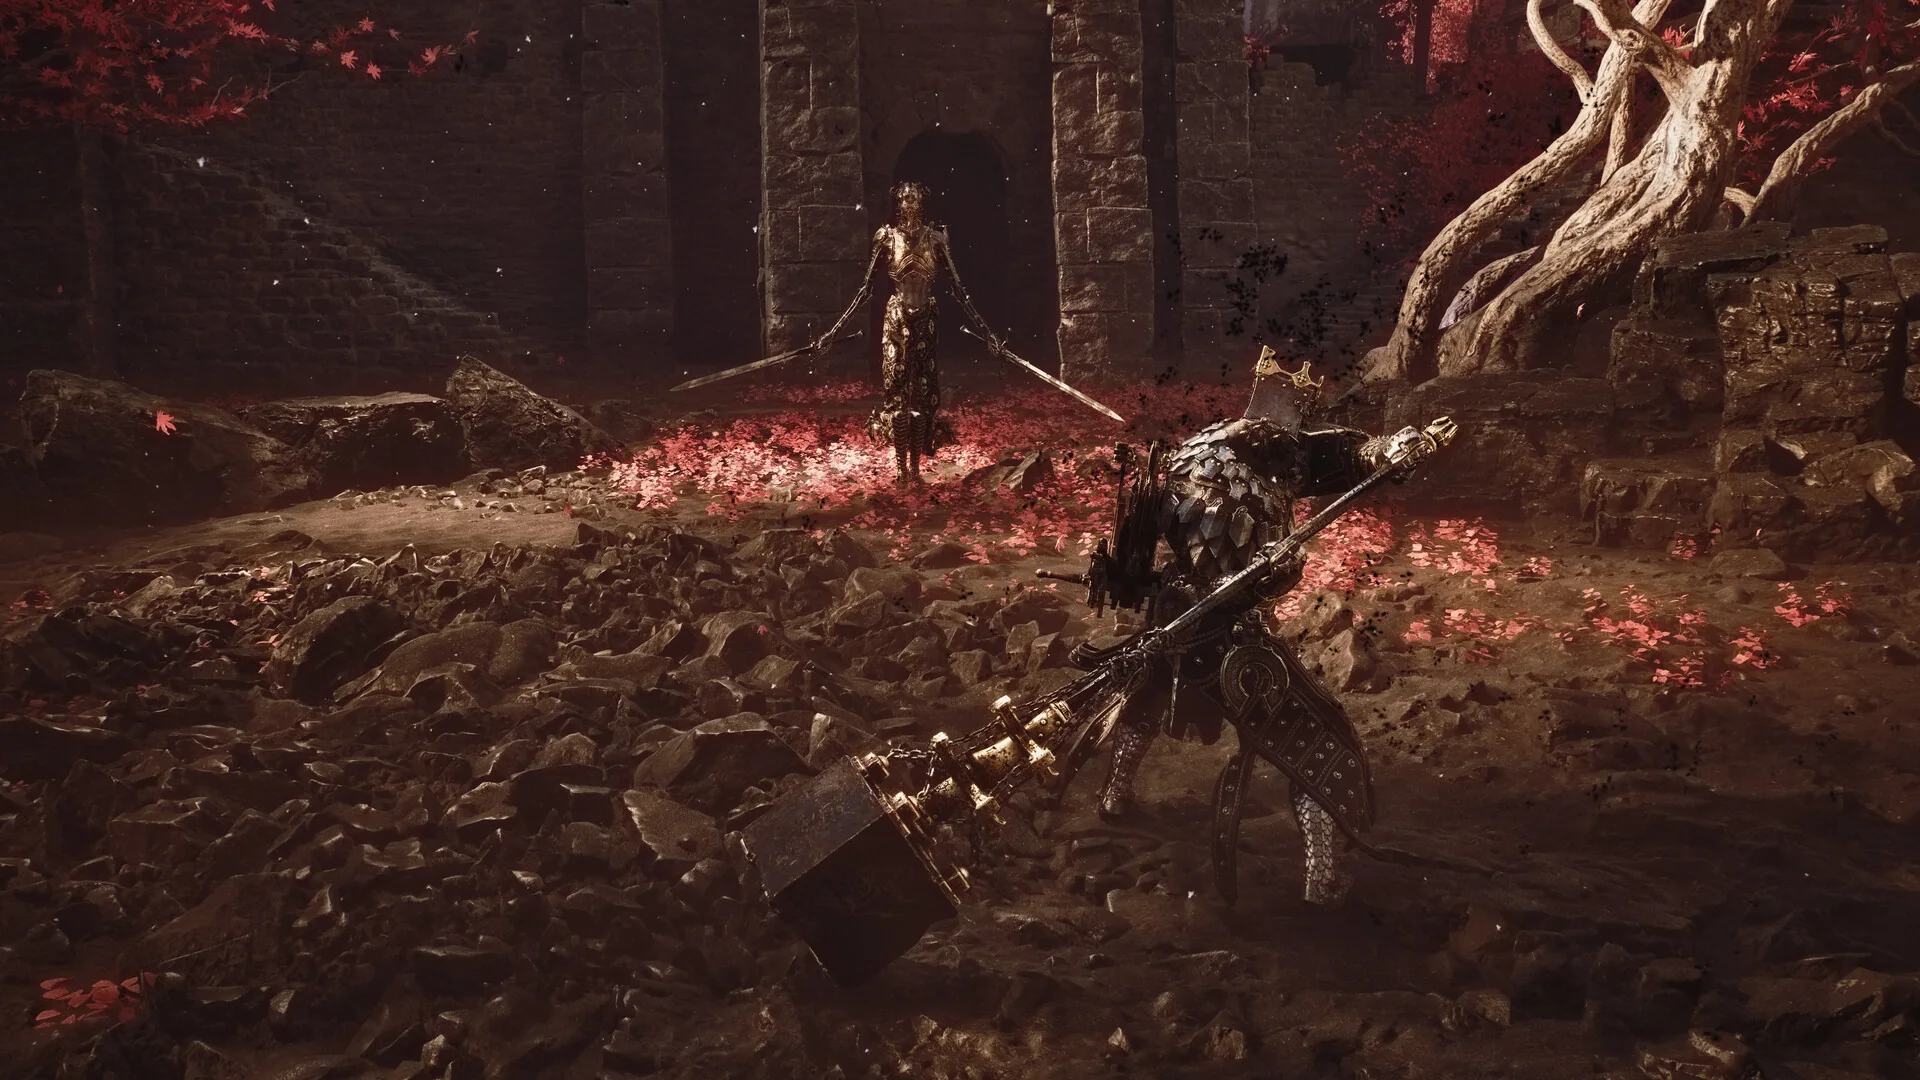
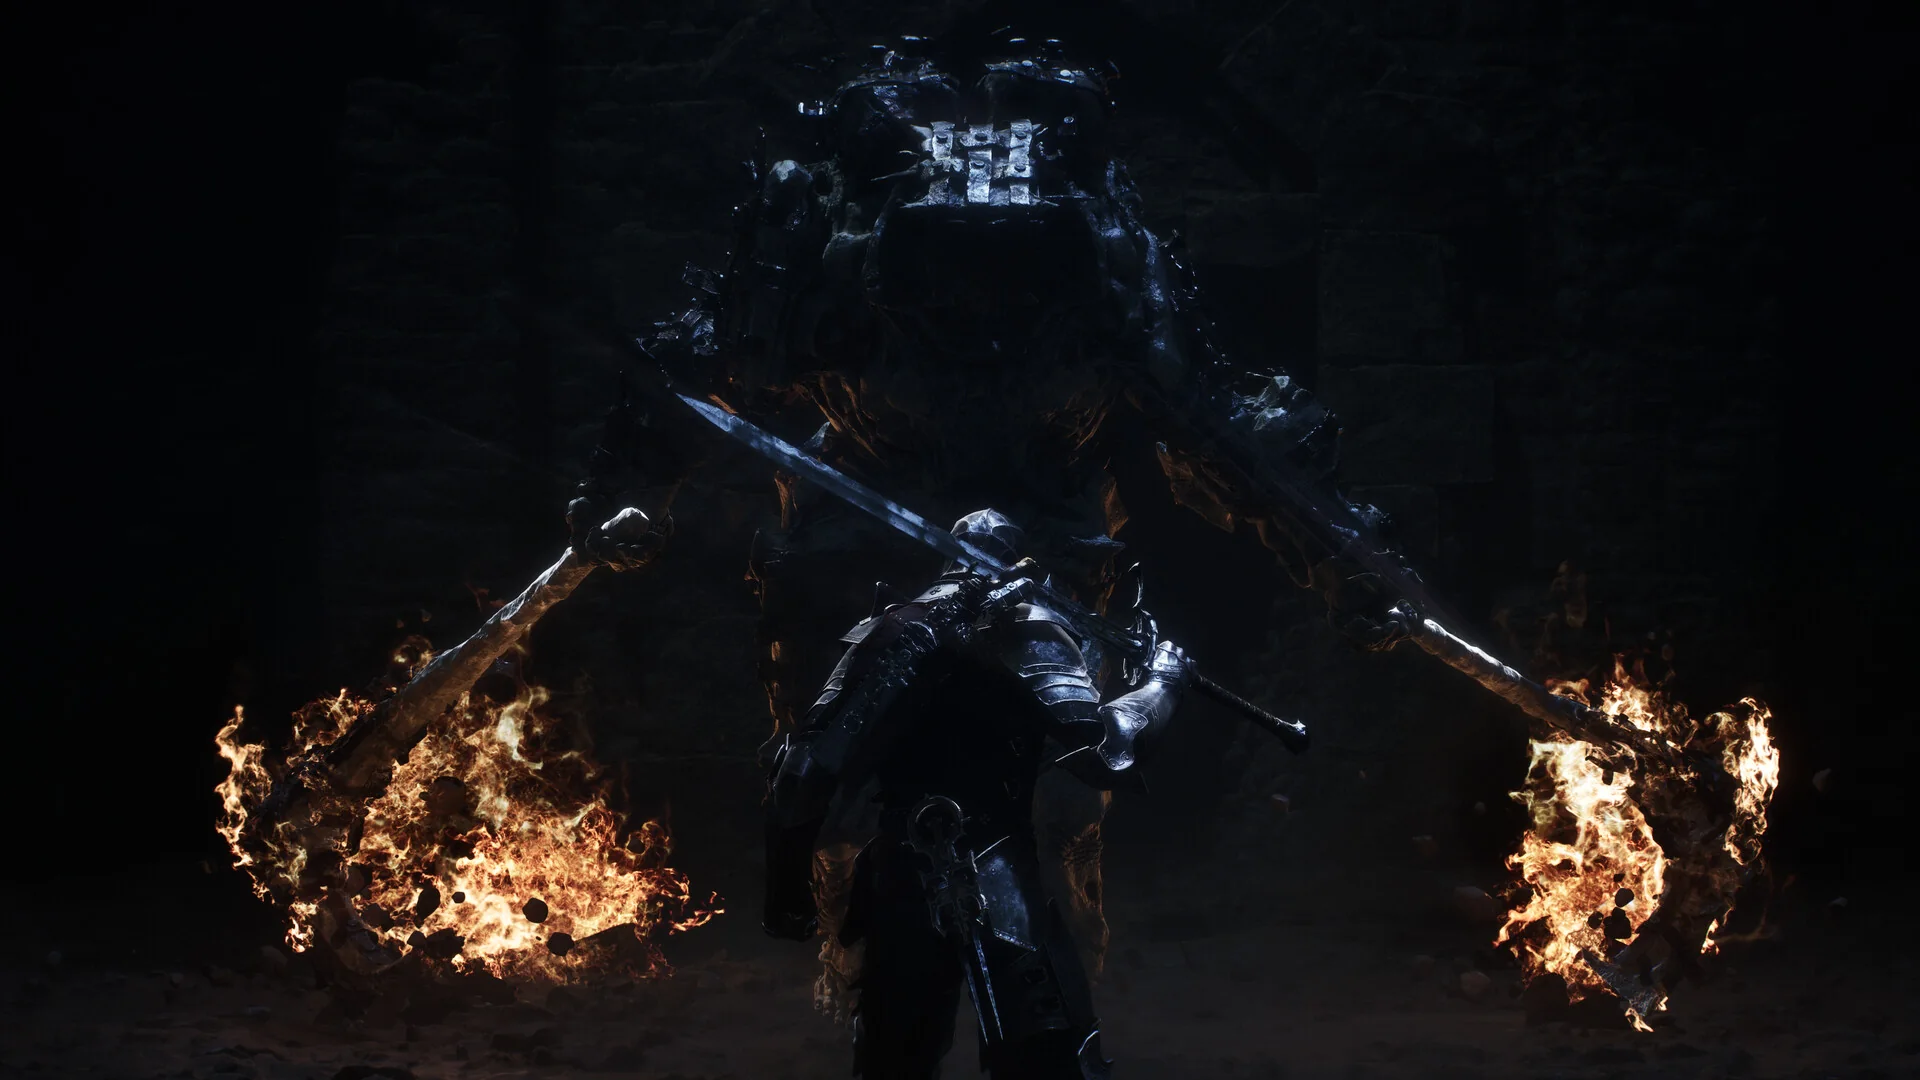
Complete the prologue as Harros and use the Tar Golem fight to practice the game's defensive rhythm. Harros is the tutorial Shell and cannot remain your normal Shell after the prologue, so treat this section as a mechanics lesson rather than the beginning of a permanent build.
After arriving at Marrow Keep, take time to inspect the available services instead of immediately pushing deep into the open world. The hub is where you manage important parts of Shell progression, weapons, and the systems you unlock through exploration.
Your first repeatable route should be:
- Select an early region from Marrow Keep.
- Find its first safe route and map fragment.
- Cleanse the nearest Beacon.
- Clear short dungeons or trials along that route.
- Return with enough resources to improve one Shell and weapon.
This is safer than opening several distant regions while leaving every build half-finished. Mortal Shell 2's world is interconnected, but early progress still becomes easier when one route contains a working checkpoint, known enemies, and a reliable way back.
What is the best starting Shell in Mortal Shell 2?
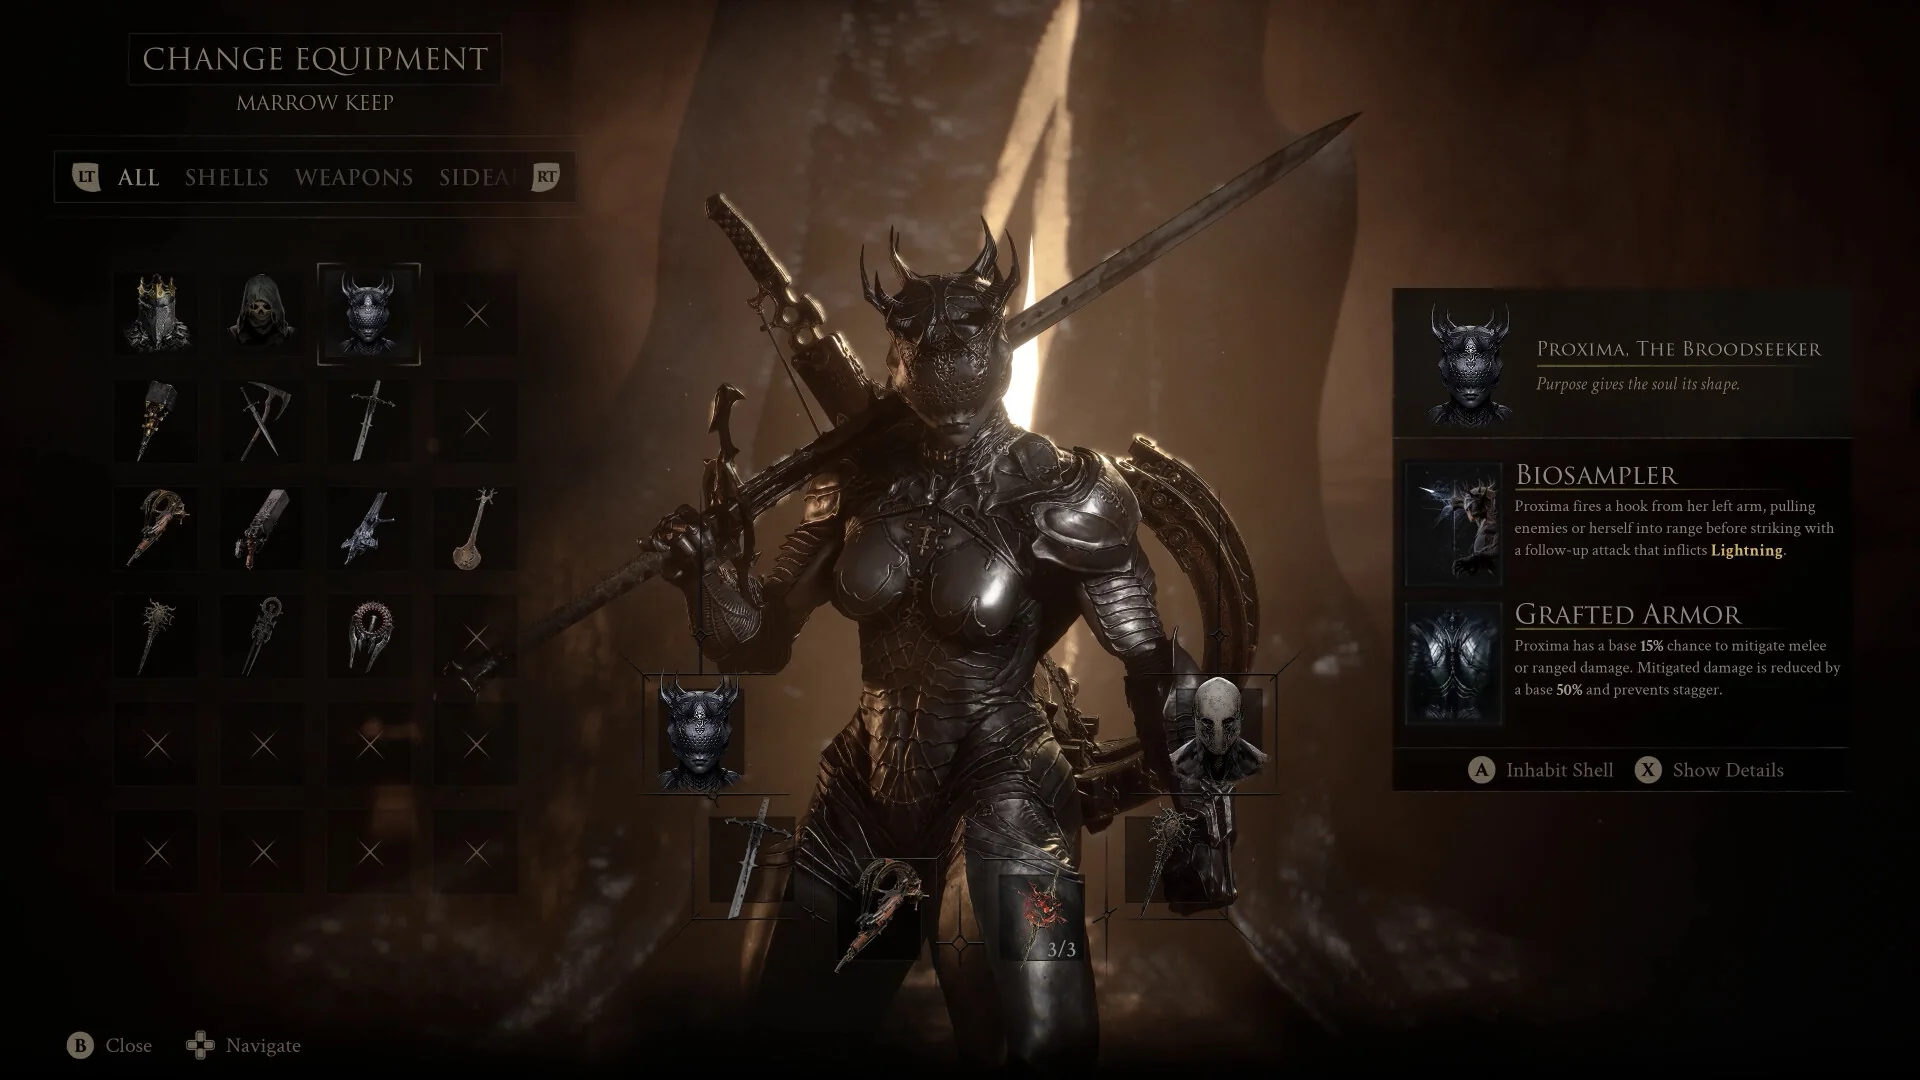
Tiel, the Acolyte is the best starting Shell for most players. His mobility and ability to become invisible after a perfect dodge make exploration and recovery more forgiving. Speed is particularly useful while learning unfamiliar enemy groups or retrieving dropped Gloom.
Proxima, the Broodseeker is the better starting option if you prefer crowd control. Her lightning ability can stagger enemies, pull lighter targets closer, or move her toward larger targets. Her defensive passive can also reduce incoming damage, giving new players more room for mistakes.
Shell | Best for |
|---|
The locations of Tiel and Proxima are revealed after the prologue. Other Shell locations can be revealed through Zhirelle, the Shellkeeper, by spending Glimpses. Because Glimpses are also used for Shell progression and are not unlimited at the beginning, reveal the Shell you actually plan to pursue instead of buying every location immediately.
Shell choice is not permanent. Test both early options with basic attacks, a sidearm, dodging, and Hardening before spending heavily. A Shell that matches your reactions is more useful than a theoretically stronger build that feels awkward.
Change to the Action camera preset
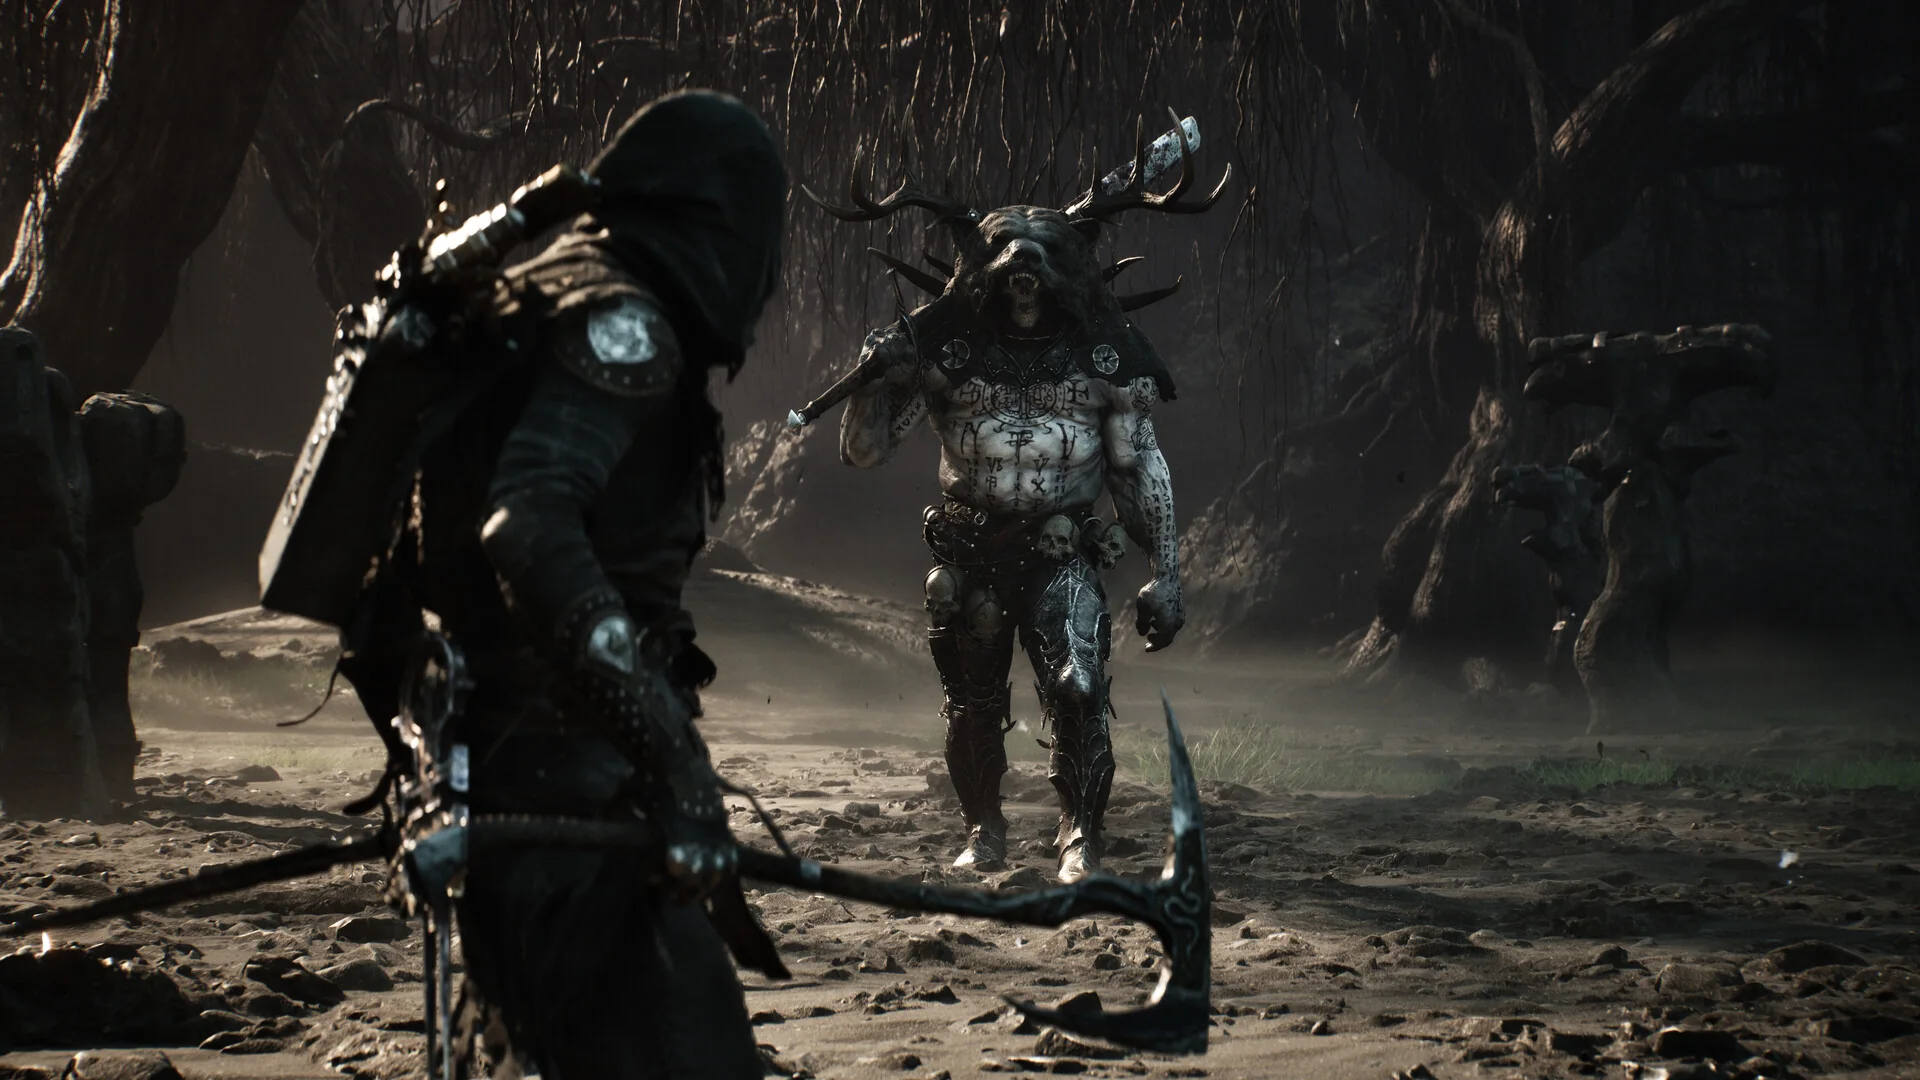
Mortal Shell 2 starts with a close over-the-shoulder presentation that emphasizes atmosphere but can hide enemies approaching from the side. Open the camera settings and test the Action preset during the first combat area.
Action view pulls the camera into a more practical position for fighting groups, watching projectiles, and seeing attacks that begin outside the lock-on target. You can return to Cinematic view for exploration if you prefer its presentation, but visibility matters more than spectacle while learning enemy timing.
Camera behavior has also been one of the most common community complaints around launch. If the camera catches on walls, avoid locking on while fighting in a doorway or tight corner and move the encounter into open ground when possible.
How combat works without stamina
Mortal Shell 2 does not use a stamina bar for sprinting, attacking, or dodging. You can stay mobile, but long attack strings still have recovery frames and can leave you exposed. The resource you actively build in combat is Resolve.
Successful melee attacks generate Resolve. You then spend it on weapon abilities, Shell abilities, infusions, and other build effects. A good beginner loop is:
- Use safe light attacks to generate Resolve.
- Break away before the enemy's counterattack.
- Spend Resolve only when an ability has a clear target or safe opening.
- Keep enough movement space to dodge or Harden if the attack does not finish the enemy.
Unlimited stamina removes one restriction; it does not remove positioning. Avoid rolling repeatedly without reading the enemy, and do not confuse an available dodge with a safe attack window.
Which defensive Seal should beginners use?
Your equipped Seal determines whether its defensive action is Harden, Guard, or Parry. These are alternative loadout choices rather than three buttons available simultaneously. Dodging remains separate and works with every Seal.
Defense | How it works |
|---|
Vatra's Seal is the strongest beginner recommendation. Hardening is most powerful when used inside your own attack animation. Start a heavy attack, Harden as the enemy swing arrives, absorb the hit, and let your attack continue after the impact. This turns Hardening from a panic button into an offensive tool.
You can swap Seals when your preferred defense does not suit an encounter. Use the Untarnished Seal when you need a safer answer to repeated hits, and reserve the Infinite Seal for deliberate parry practice or familiar one-on-one fights.
Against groups, avoid performing a long finisher merely because it is available. Some combat animations can leave you vulnerable to enemies outside the interaction. Create space or stagger nearby threats before committing.
How Beacons and the map work
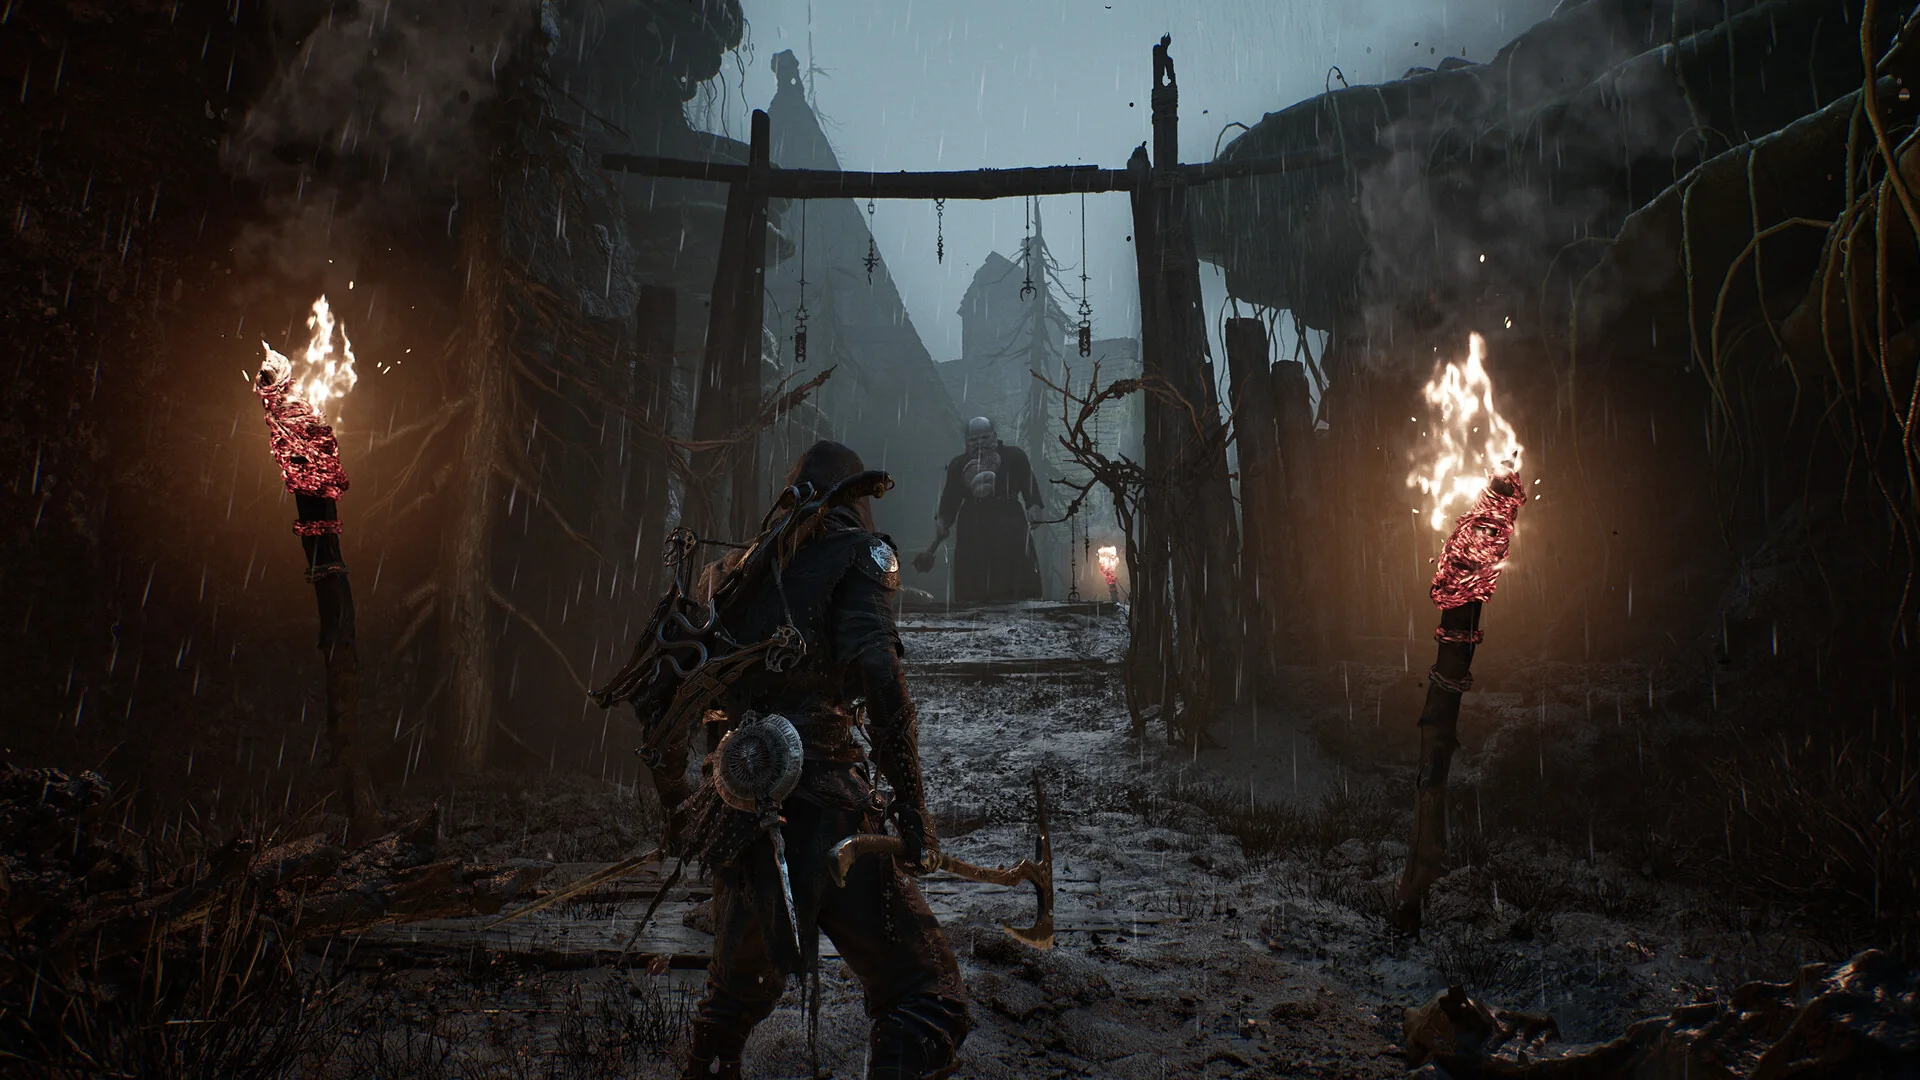
Beacons are Mortal Shell 2's major checkpoints, but many begin corrupted. Cleansing one can require completing a nearby combat challenge or mini-dungeon. Once active, a Beacon becomes part of the region's progression network and can provide access to upgrades or rewards.
Do not run past every Beacon while exploring. A cleared Beacon shortens future boss attempts, creates a known recovery point, and gives you a safer base for nearby dungeons.
The world map follows a separate rule: exploration alone does not fully reveal the terrain. Look for statues associated with Ruk, the Harbinger's black bird companion. Collecting the map fragment at one of these statues reveals that portion of the map. Some important fragments also expose Corrupted Gates and other major destinations.
When entering a new region, prioritize the map fragment and Beacon before optional fights. That turns wandering into a route you can repeat and document.
What should you upgrade first?
Upgrade one weapon first, then the Shell ability that supports how you already fight. Early damage improvements shorten every encounter and reduce the number of defensive decisions you must survive.
Use this priority order:
- Primary weapon damage or core upgrade. Commit to the weapon whose reach and recovery you understand.
- One Shell's defining ability. Improve Tiel's mobility plan or Proxima's control plan rather than splitting points immediately.
- Healing reliability. Increase or improve your reusable healing option when the relevant upgrade becomes available.
Do not judge a weapon from a single light attack. Test its light chain, heavy attack, sprinting attack, recovery time, range, and ability before investing.
Tarstones explained for beginners
Tarstones are collectible build items earned through exploration, trials, dungeons, bosses, and chests. They provide passive bonuses, combat effects, infusions, or active abilities. Mortal Shell 2 contains 75 Tarstones, and a complete loadout can equip up to ten across its available categories.
For a first build, prioritize effects that work during ordinary exploration:
- More Gloom or Resolve from enemies.
- Extra stagger or Break pressure.
- Reliable melee critical bonuses.
- Reduced incoming damage after a kill.
- A weapon or sidearm ability you can activate consistently.
Some Tarstones only work with specific weapons or sidearms. Read the compatibility information before planning around an effect. You can swap Tarstones without resting at a Beacon, so change them when moving from exploration to a boss rather than forcing one setup through every situation.
The best beginner build is coherent, not complicated. One damage plan, one defensive fallback, and one dependable Resolve spender are enough for the opening hours.
Use sidearms to create openings
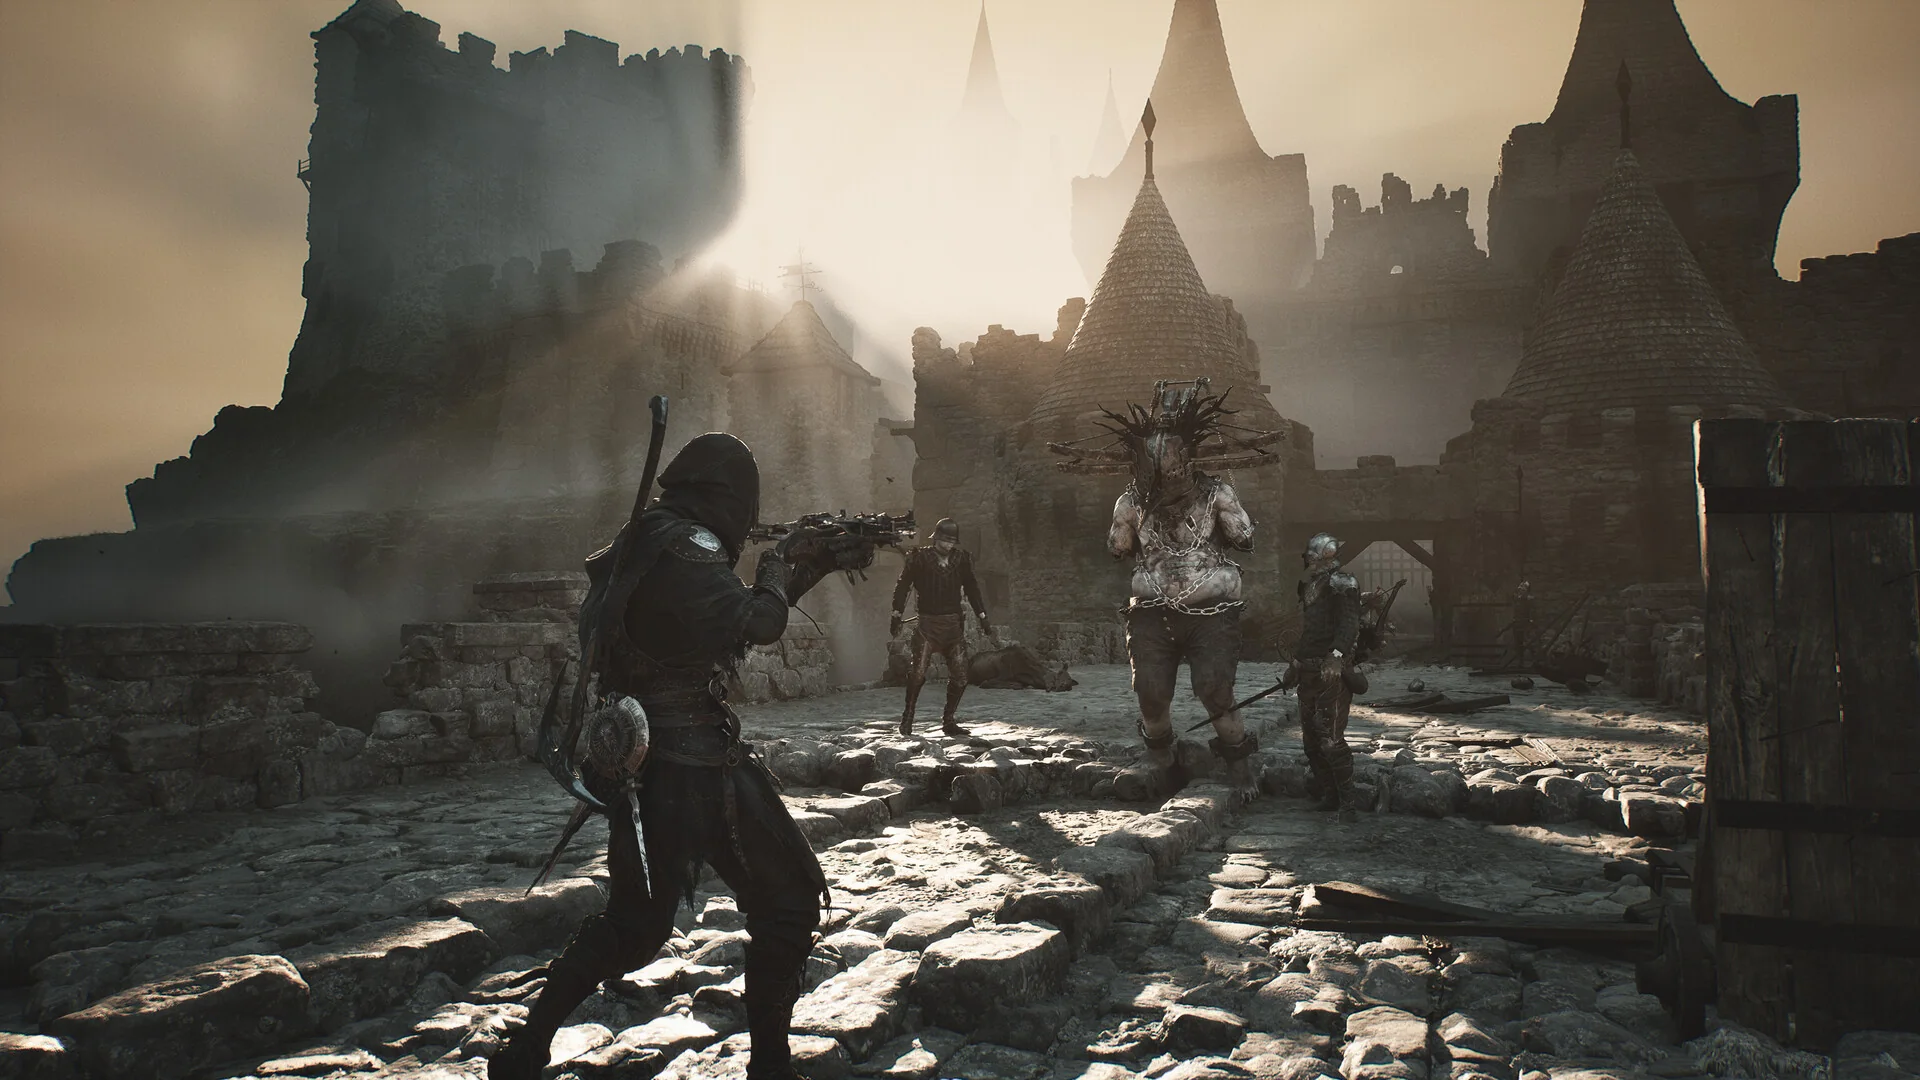
Sidearms are part of the normal combat loop, not an emergency tool. They spend Resolve to pressure enemies at range and can activate Tarstone or Shell synergies. Normal sidearm shots do not automatically deal Break damage. The Slayer Seal explicitly adds Break damage to sidearms, and some other build effects may provide related stagger or Break bonuses.
Use sidearms to:
- Interrupt or pressure an enemy before entering melee range.
- Deal Break damage when the Slayer Seal or a compatible build effect enables it.
- Punish a boss after moving away from a close-range combination.
- Separate one enemy from a group.
- Trigger Tarstone effects tied to ranged attacks or sidearm kills.
Do not spend every available shot on minor enemies, but do not finish difficult fights with unused ammunition and Resolve either. Resources that prevent damage are often more valuable than resources carried back to the hub.
Do not ignore healing or the shop
Mortal Shell 2 uses a multi-charge healing item that can be improved over time. Treat healing upgrades as progression rather than assuming the starting version will remain sufficient.
Check merchants and hub services after major discoveries. A new weapon upgrade, healing improvement, or utility item can make more difference than repeatedly attempting the same encounter with an unchanged build.
Heal after creating distance, breaking line of sight, or waiting for the end of a long enemy recovery. Healing directly in front of an active enemy usually turns one mistake into two.
Should beginners use the Slayer Seal?
The Slayer Seal acts as Mortal Shell 2's easier-difficulty option. It improves Break-focused combat and can restore Health and Resolve through Ripostes, making difficult enemies much easier to control.
Equipping the Slayer Seal permanently disables achievements for that save. Removing it later does not restore achievement eligibility. The game displays warnings before activation, but completionists should leave it unequipped on their primary playthrough.
Use the Slayer Seal if finishing the game matters more to you than achievements. Otherwise, stay on the standard experience and improve your Shell, weapon, Tarstones, healing, and route before deciding that an encounter is impossible.
Players seeking a harder experience can use the Gloombound Flame to activate Night Mode. Night Mode adds enemies and increases rewards, so it is better treated as an optional farming or challenge state than a beginner setting.
Common Mortal Shell 2 beginner mistakes
Mistake | Better approach |
|---|---|
Mortal Shell 2 beginner FAQ
What is the best starting Shell in Mortal Shell 2?
Tiel is the best general starting Shell because his movement and perfect-dodge invisibility help with exploration, recovery, and unfamiliar fights. Proxima is a strong alternative for players who prefer ranged control, staggering, and passive damage mitigation.
Does Mortal Shell 2 have stamina?
No. Sprinting, dodging, and attacking are not restricted by a stamina bar. Attack recovery, positioning, Resolve management, and enemy pressure still prevent unlimited safe aggression.
How do you reveal the map?
Find statues watched by Ruk and collect the map fragments placed there. Simply walking across a region does not reveal all its terrain.
What should you upgrade first?
Upgrade one primary weapon first, then improve the defining ability of your chosen Shell. Add healing and compatible Tarstones after the core melee or ranged loop is reliable.
Can you change Shells later?
Yes. Mortal Shell 2 is designed around finding and inhabiting different warriors. Shell locations and abilities are part of exploration, and equipment systems such as Seals and Tarstones can be shared across multiple Shells when compatible.
Does the Slayer Seal disable achievements?
Yes. Equipping the Slayer Seal permanently disables achievements on that save, even if you remove the Seal later.
Do you need to play the first Mortal Shell?
No. Mortal Shell II is a standalone sequel with a self-contained story. Returning characters and ideas have additional context for existing players, but prior knowledge is not required.
Does beta progress carry over?
Most beta progress does not carry into the full game. Currency, weapons, Shells, collectibles, and items reset. Eligible players can retain the Flayed Harbinger cosmetic reward, and reaching Marrow Keep in the beta can provide a prologue-skip option.
Final takeaway
The smoothest Mortal Shell 2 opening comes from building one reliable loop. Pick Tiel or Proxima, switch to a readable camera, practice attack-into-Harden timing, cleanse the nearest Beacon, reveal the map, and improve one weapon before branching out.
Once those fundamentals work, Tarstones and new Shells become meaningful choices instead of extra menus. Explore freely, but give every new region a map fragment, a checkpoint, and a planned route home.
Sources
Image credit: Cold Symmetry and Playstack. Images are official Mortal Shell II promotional screenshots distributed through the game's Steam store page.